Tadium Ultimate POS [Installation & Setup Guide]
Tadium Ultimate POS is a windows-based desktop application to manage your business. Currently Tadium Ultimate POS supports both restaurants and shops. Future updates will support pharmacies, gyms and hotels.
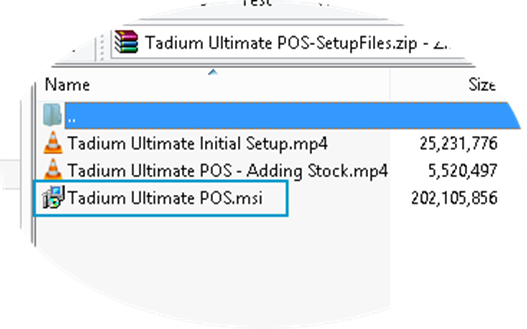
Extract the zip file contents of the downloaded zip file. Within the folder, locate the file named Tadium Ultimate POS. Double-click the Tadium Ultimate POS installer file to launch the setup process.
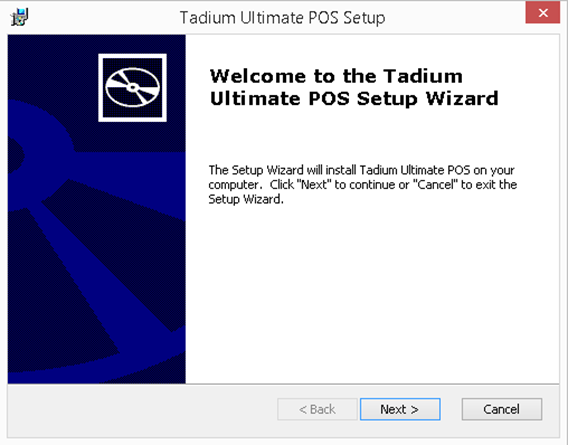
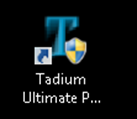
Click “Next” and proceed to finish the installation process. Once installed, look for the program icon on the desktop as shown below.
Upon starting the application for the first time, you will be prompted with a wizard guide to help you setup the system.
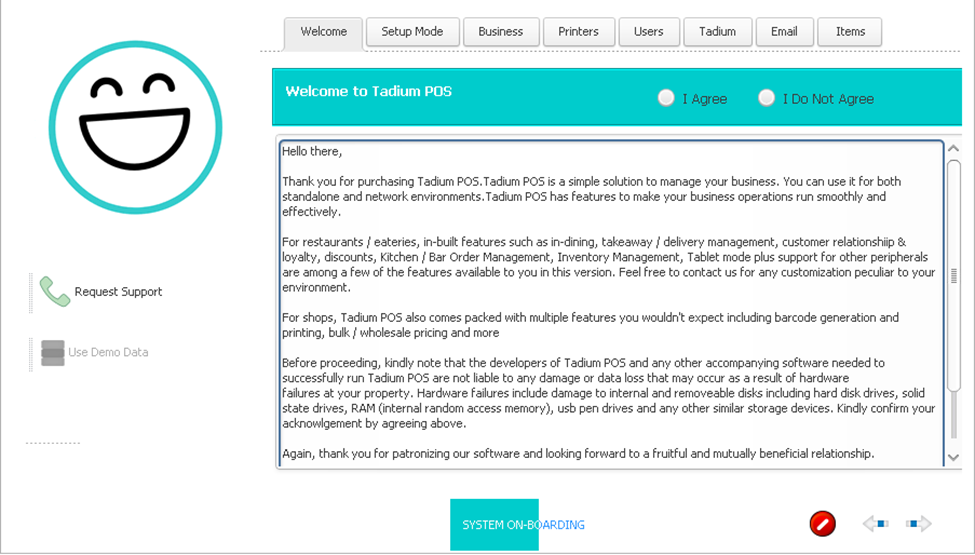
Click on “I Agree” (if you agree after reading the terms) and then click on the next or the arrow pointing to the right at the bottom.
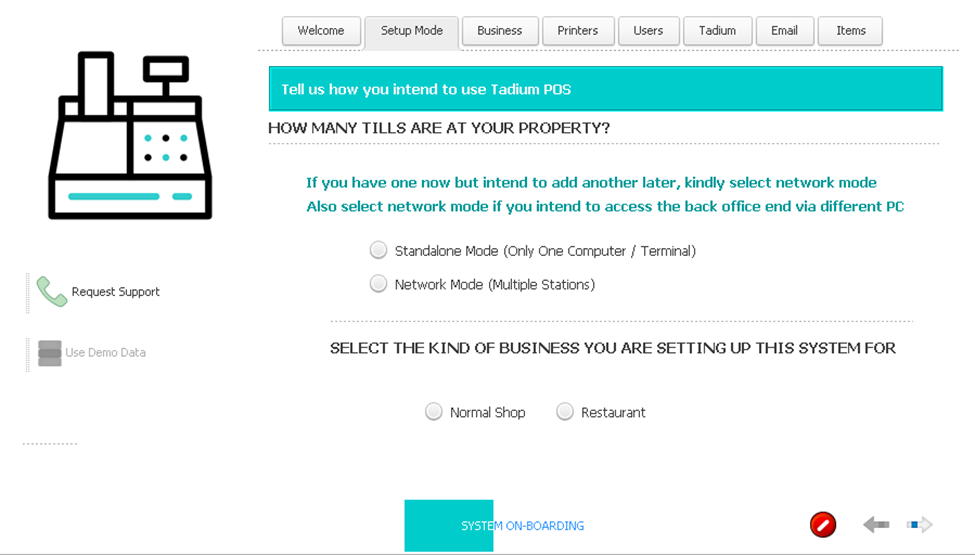
At the next section, you would be prompted to indicate whether the system would be used in a network environment as in multiple tills or computers would be used or only one computer would be used. This subsequent section is named “Setup Mode”. You would also be required to indicate if your business is a shop or an eatery (restaurant, pub, delivery only, fast food etc). You would be forced to make a choice for each question before you are able to proceed to the next section.
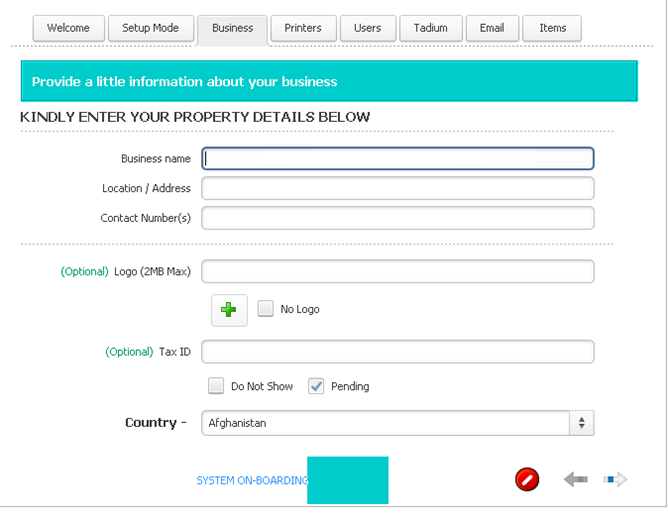
At the next section named “Business”, Simply enter your business details as indicated below.
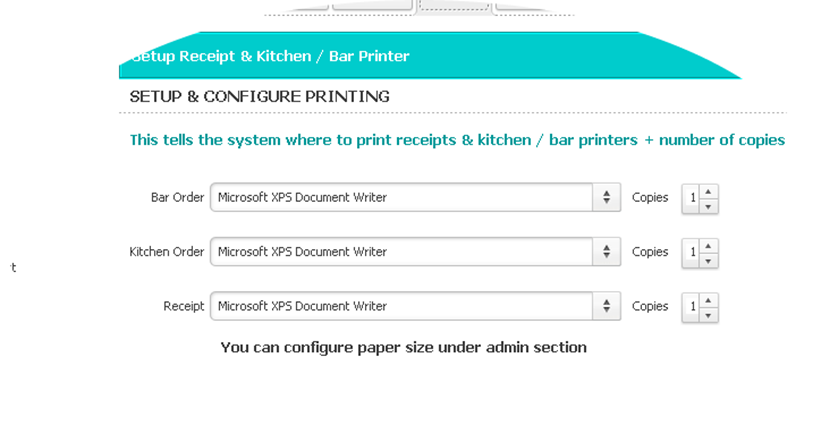
At the next section, if you business type is an eatery or restaurant, select the designated receipt printer and the designated kitchen printer as well as the bar printer. If you would be using one printer for everything, then simply select the same printer for all the functions indicated.
You can also indicate the number of copies that should be printed for each specific print out.
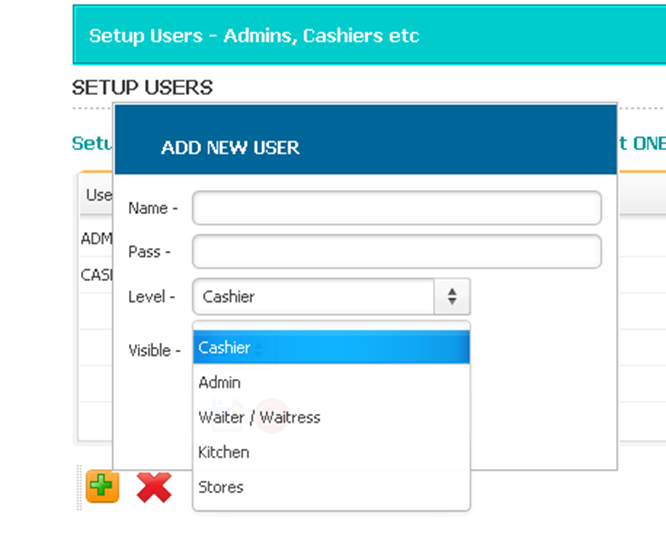
In the next section , you simply add users(Cashier/POS attendant, waiters,managers etc)
If your business type was Restaurant, you would be required to add at least one “CASHIER” user and one “WAITER/WAITRESS” user. If your business type is a shop, then you would only be required to add at least one user of “CASHIER” type. By default, there is already one “Administrator” or “Super” user with the name ADMIN. You can select ADMIN and use passcode 8921 to log into the backend or administrator side.
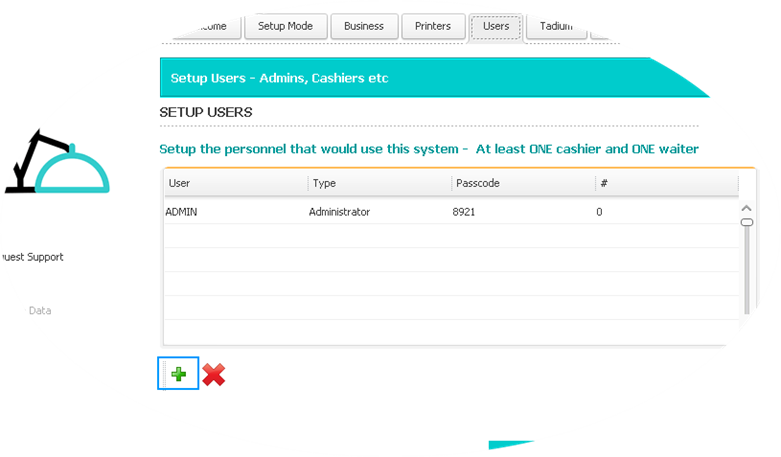
In order to add a user of any particular user type, simply click the dropdown selection in the add new user window and select the appropriate user type. Also, remember all passwords should contain ONLY numbers. Preferably a 4-digit code.
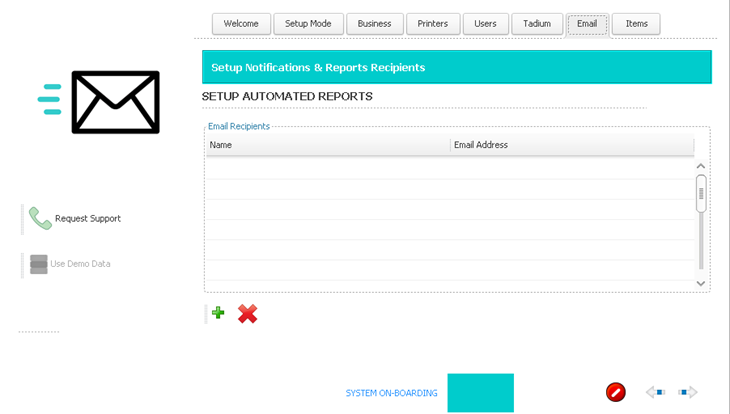
The next seciton simply highlights some features of our professional as compared to the standard verson of Tadium Ultimate POS. You can simply skip that seciton. The section after that refers to Email reports that the system can automatically send after every cash closed should you choose to enable. However, although the system itself does not need the internet to function, this specific feature of sending daily sales and inventory reports via email requires internet access. Should you choose to use this feature, you would need to add the recipient emails. You can do so in this section or simply skip if you don’t need it.
In the final section named “Items”, you need to add at least one category and one item so as not to return to the guided wizard once you close it. Simply click on the green plus symbol under category on the left side. Enter a category name and hit the save icon; the floppy disk icon to save.
And then clck the green plus sign under products to add at least one product or menu item depending on the business type you selected. And then hit the save icon to save. Once, the sytem detects there is at least one category and one product or menu item, The “Start Selling” button will become active. Once you click on it, the sytem will exit for you to start it up again.
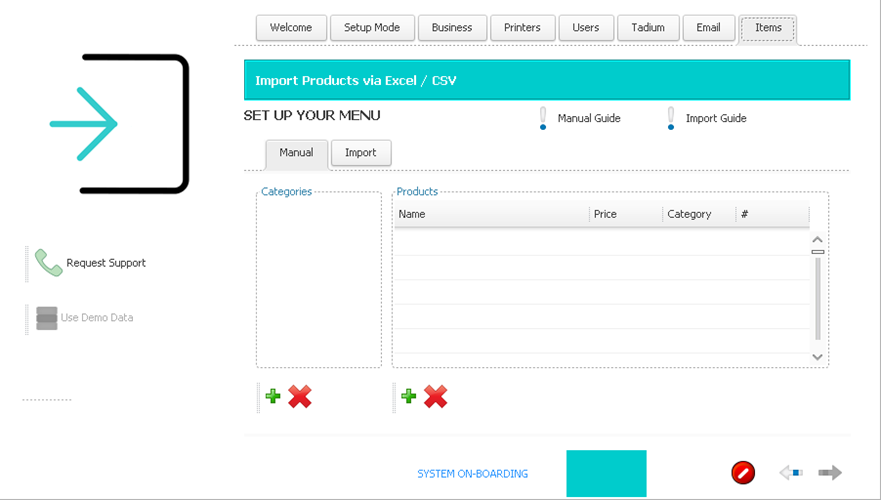
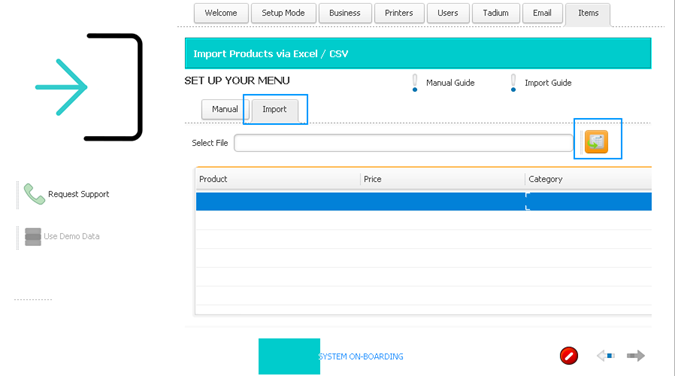
To import your products from a csv file, first select the “import” tab and make sure your csv file have the following column headers
- Name
- Sellprice
- Category
Also, make sure the category names in the csv have been manually added and already exists before entering them in the csv file. Please do not include any currency symbols in the csv file. You can now click on the import button.
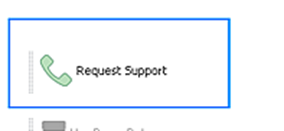
You can log in either as a “Cashier” user or use “Admin” to enter the back end to set up more categories and products / menu items. If you need help in setting up your system , simply hit on the “Request Support” with the telephone icon on the far left side.